So for the past year I have heard Curt talk about those cheese danish's that you can buy at the store. You know the really delicious ones that you know are so terrible for you, but you eat it anyway. I have made these three times and have turned out great from the beginning. Curt and I even think these are waaaay better than the store bought ones. These only have 200 calories compared to the 400-500 that the ones at the store are. I also enjoy knowing everything in the recipe. I look at the labels of food at the store and don't know what some ingredients are....that's probably not good. A step by step directions with pictures will follow the recipe and nutrition facts.
Cheese Danish
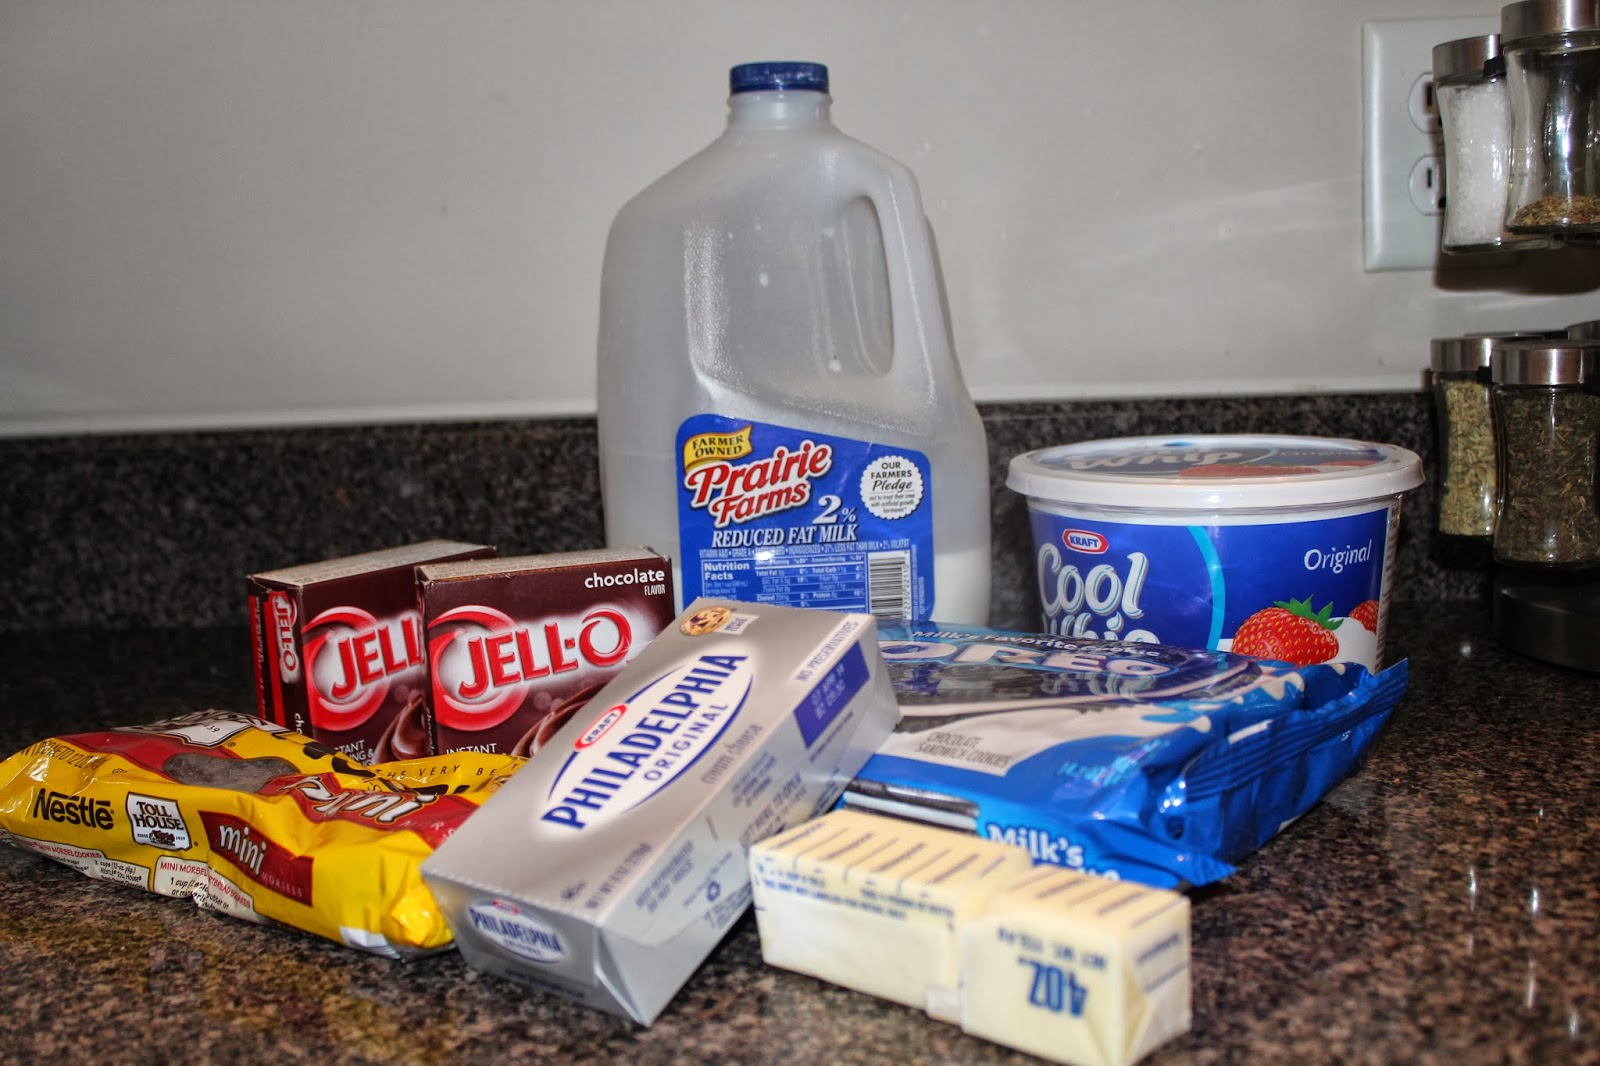
Ingredients
- Puff pastry sheets, thawed but still cool
- 8 oz cream cheese, room temperature
- 1/3 cup sugar
- 1 tsp vanilla
- 2 eggs, divided
- 1/4 cup powdered sugar, for frosting
- 2 tsps milk or cream, for frosting
Directions
- Make sure your puff pastry sheets are thawed but still cool. The best way to do this is to place them in the refrigerator overnight. you can also place these out at room temperature for 30 minutes to defrost as well.
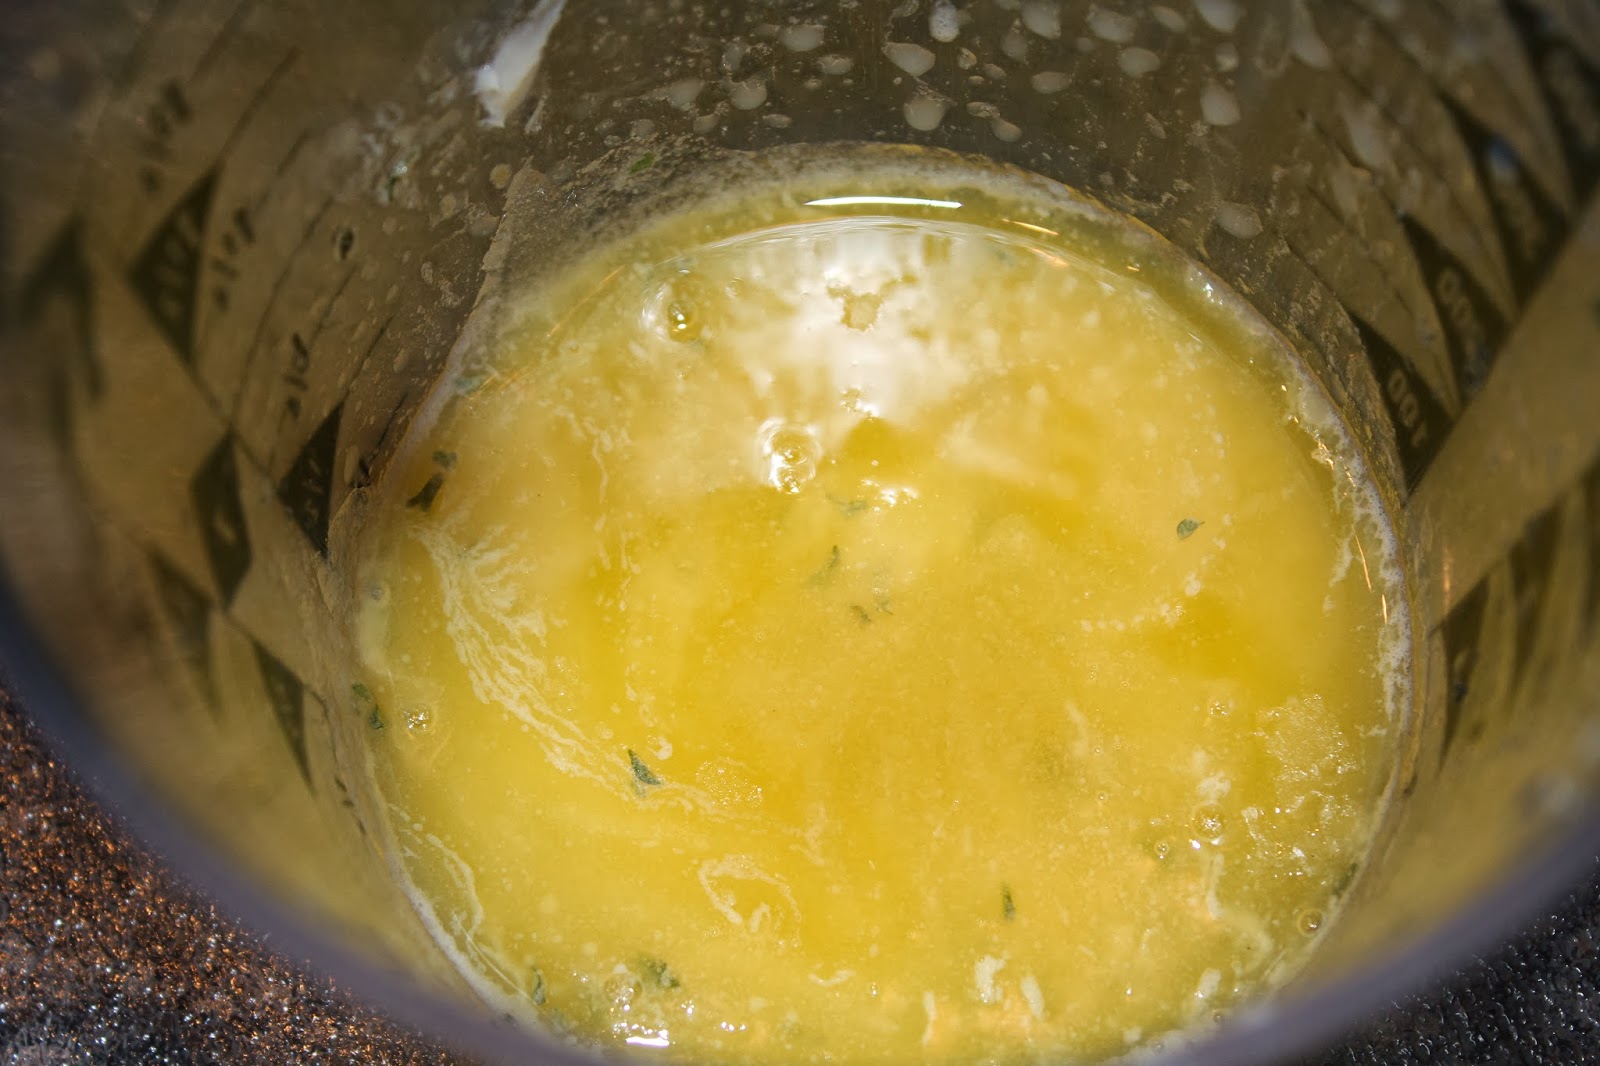
- Cream together cream cheese and sugar in a medium bowl.
- Add vanilla and egg yolks and stir until combined. It may be lumpy and this is okay. I will try to get the bigger lumps out.
- Take defrosted puff pastry sheets and roll them out slightly (to a 10x10 in square).
- Cut the puff pastry sheet into 4 equal pieces. Do this for both sheets.
- Place a heaping spoonful in the center of each square.
- Brush all four edges of each pastry with an egg white wash (2 egg whites combined with 1 Tbsp of water).
- Fold each corner in till they are all touching.
- Put parchment paper on a baking sheet then set pastries on the baking sheet.
- Refrigerate for 15 minutes. While these are in the fridge preheat your oven to 400 degrees F.
- Bake for 20 minutes or until golden brown.
- While they are baking you can go ahead and make your icing. I normally put 1/4 cup of powdered sugar in a small bowl and slowly add small amounts of milk or heavy cream until you have a thick consistency that you can still drizzle on your danishes.

Cream together cream cheese and sugar in a medium bowl.
Add vanilla and egg yolks and stir until combined. It may be lumpy and this is okay. I will try to get the bigger lumps out.
Take defrosted puff pastry sheets and roll them out slightly (to a 10x10 in square). Cut the puff pastry sheet into 4 equal pieces. Do this for both sheets. I like to turn each square over because the bottom of the sheet will be stickier than the top. If you don't flip your squares over they will bake and open up. If you do flip them over they will bake and stay closed. I will show pictures of both later on. I recommend trying both to see which you prefer. We kind of like the open ones more just because you can really taste the cream cheese filling.
Place a heaping spoonful in the center of each square.
Brush all four edges of each pastry with an egg white wash (2 egg whites combined with 1 Tbsp of water).
Fold each corner in till they are all touching.
Put parchment paper on a baking sheet then set pastries on the baking sheet. I normally put four on a baking sheet just so they are crowded. You never really know how these will puff up either.
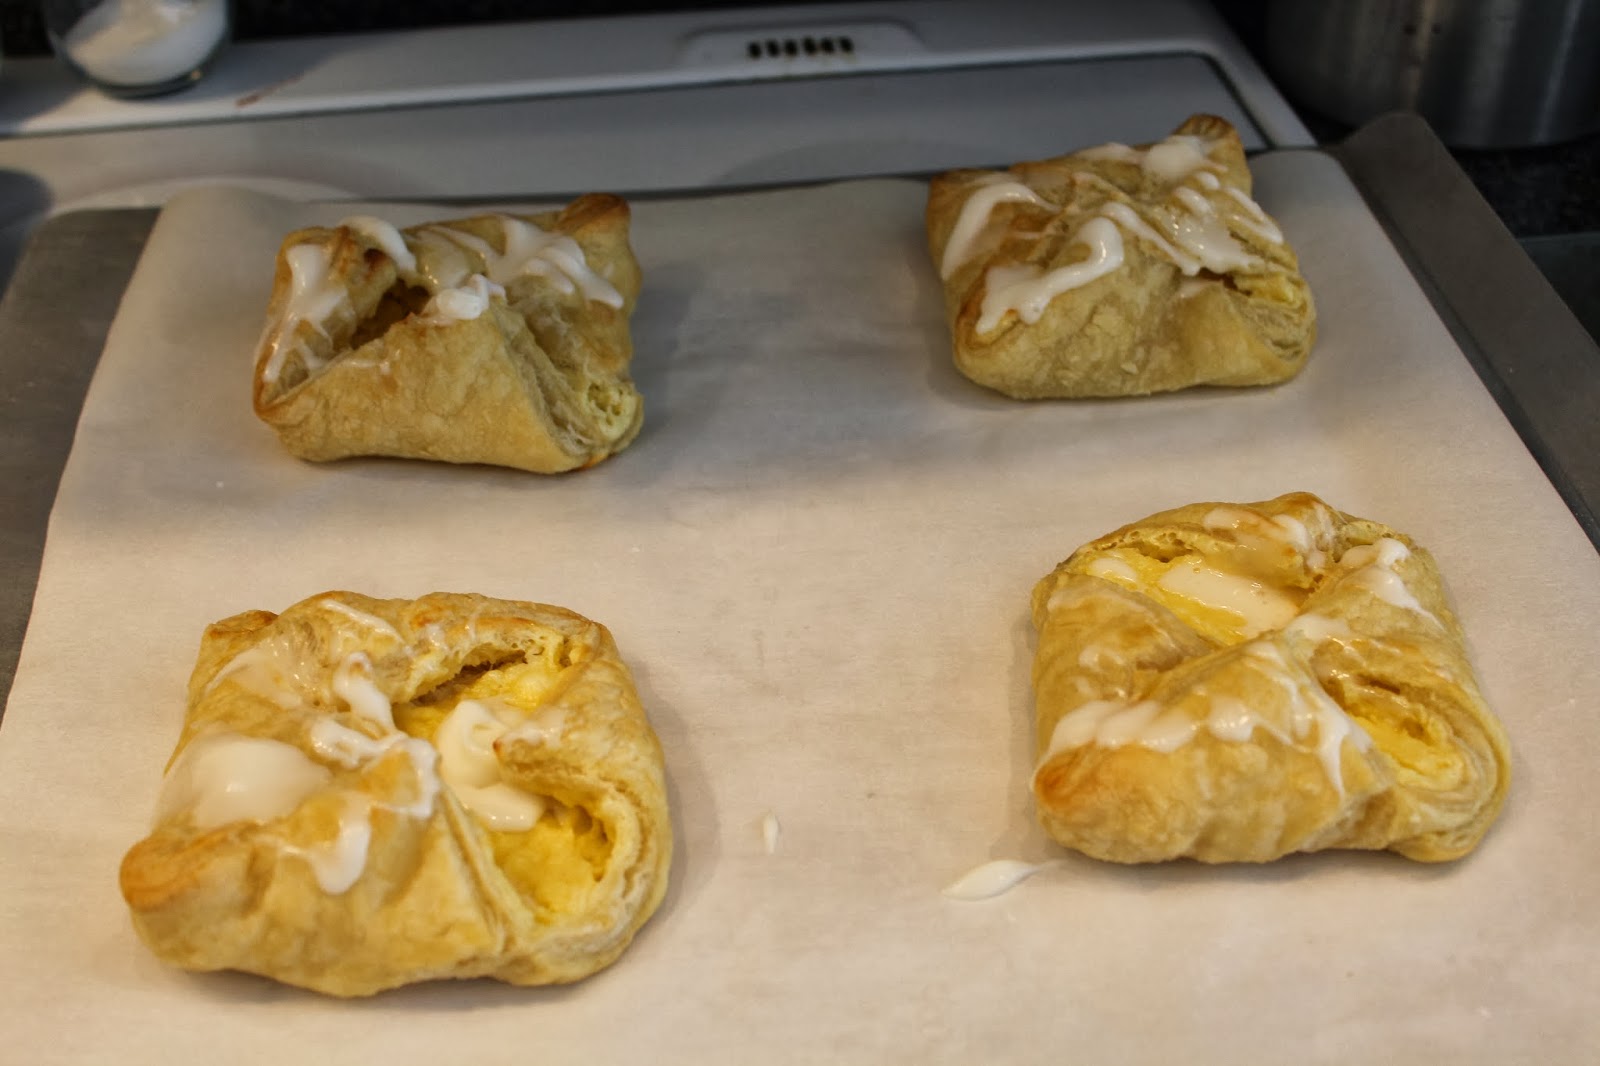
Bake for 20 minutes or until golden brown. Don't forget to drizzle your yummy icing on them. If you want a healthier version leave the frosting off. This drastically reduces the sugar amount in this recipe.
This is what they look like if you do not flip over the pastry sheets after cutting them into fourths. You can see the delicious cream cheese filling just waiting for you to eat it.
This is what they look like if you do flip the pastry over. Just as delicious. This way you taste more of the puff pastry sheets.
Enjoy!